Mac contains many hidden files. They stay invisible to the users, but it doesn’t mean that they don’t consume any space on your hard disk. Most of the time, Apple macOS has such files in the form of logs, caches, preferences and many other service files. Some already installed apps keep those files hidden from user’s eyes so that they cannot be altered. Most of such files do not even appear on Mac Finder search results. Although, this feature is a smart addition to the Apple systems as it keeps secret files protected from any unwanted damage. But there are some situations when users need to locate those files to fix some trouble.
Here are the reasons to view hidden files on Mac, MacBook, and iMac:
- To remove or locate the leftovers of unwanted apps.
- To create a backup of important system data.
- To troubleshoot the app.
- To find hidden files for some security reasons.
- To clear the cache on Mac.
If you want to access such hidden files, it is important to know some secret tricks to execute this task. It can help you to switch the visibility of hidden files on Mac devices so that you can do desired manipulations. There are a few apps on the Apple platform that can help you to view such files whenever needed. But these files shouldn’t be altered without the desired knowledge of the data inside them.
How to View Hidden Files (Safest & Fastest)
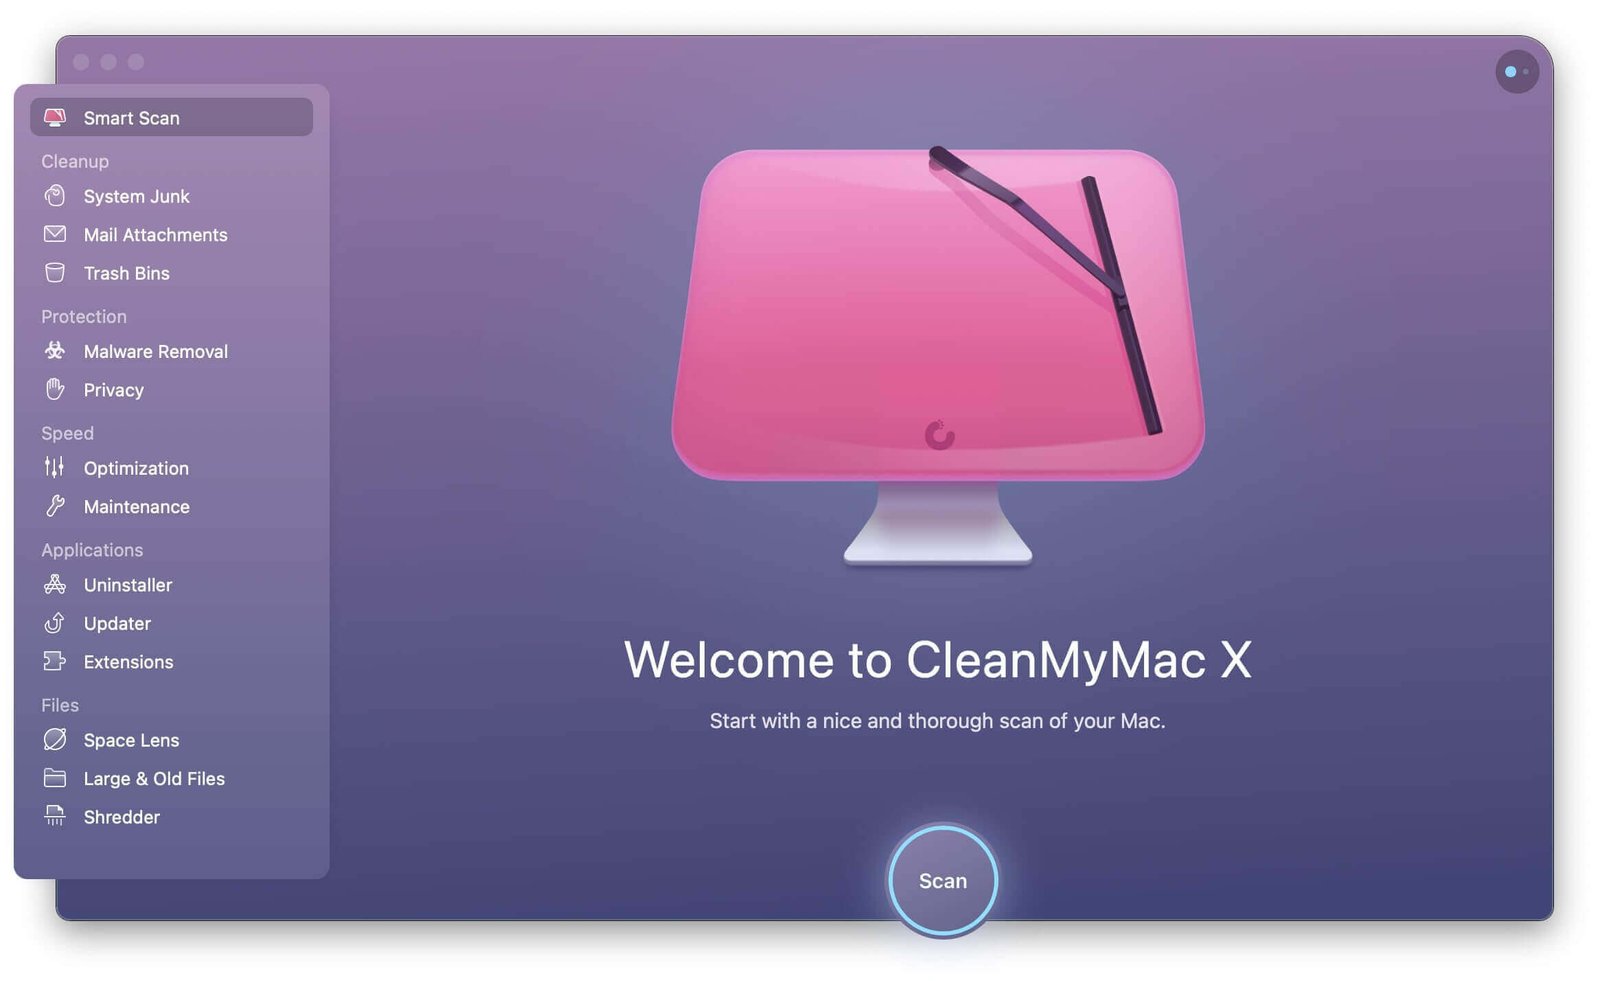
If you want to find out hidden files on your Mac and wipe them out to free up the hard disk on your Mac, MacDeed Mac Cleaner is a good choice to help you get rid of unneeded hidden files on Mac. Meanwhile, if you clean the hidden files with Mac Cleaner, you needn’t be worried about the case that there will be something wrong with your Mac.
Step 1. Install Mac Cleaner
Download and Install Mac Cleaner (Free) on your Mac.

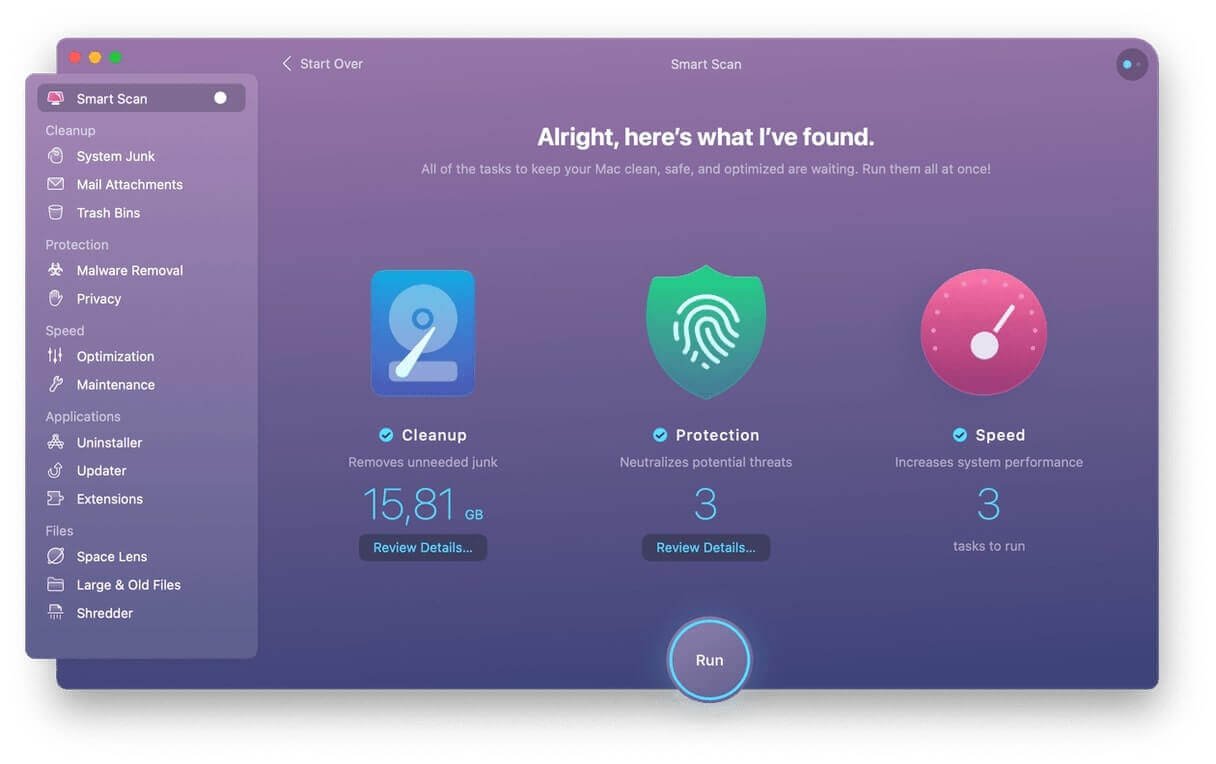
Step 2. Scan Your Mac
It takes seconds to install Mac Cleaner. And then you can “Smart Scan” your Mac.

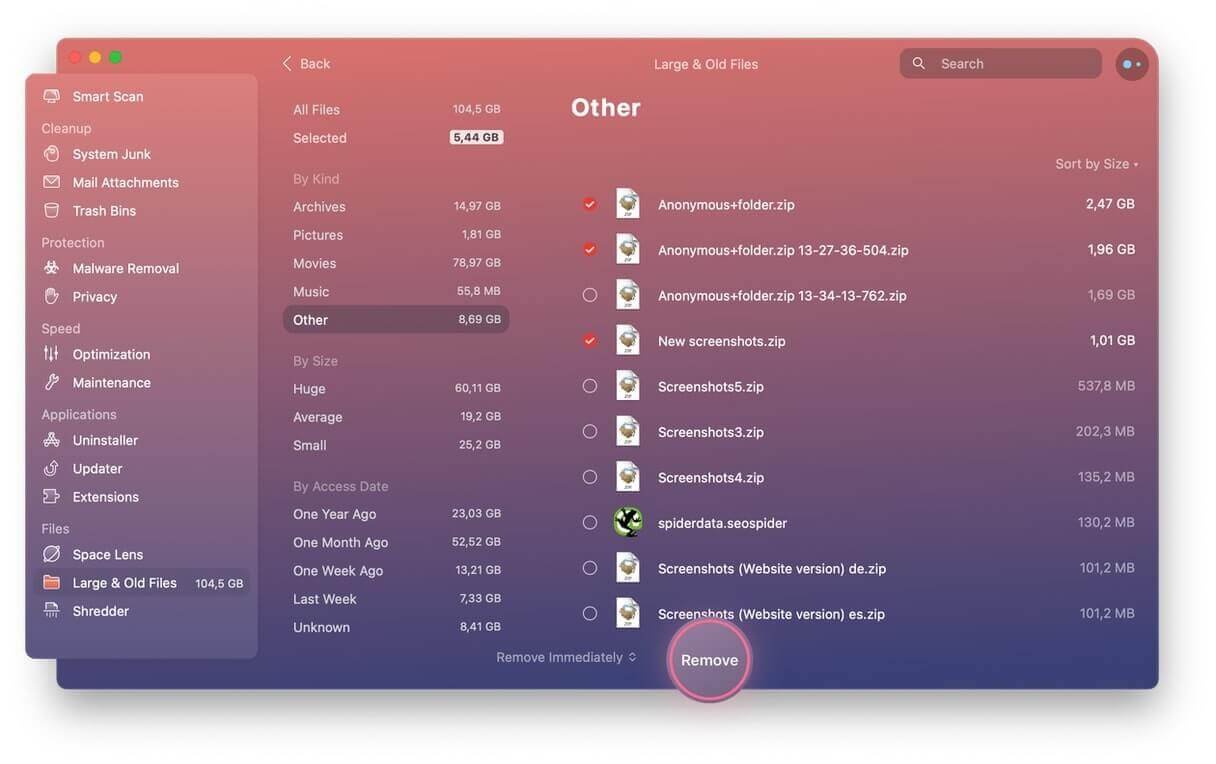
Step 3. Delete Hidden Files
If it finishes scanning, you can view all the files of the result, and then select the files you don’t need to delete.

How to View Hidden Folders using Terminal?
You might be aware of the fact that Terminal is a default app on the Apple platform that can be found on Launchpad. This amazing application allows people to execute different operations on Mac by using a few specific commands. The great news is that they are easier to follow. Even beginners can execute those command lines to show hidden files on their Mac. Here are the steps.
Step 1: First of all, open the Terminal app through your device launchpad.
Step 2: Now copy this command:
defaults write com.apple.finder AppleShowAllFiles -bool true

killall Finder
Step 3: Paste this command on the Terminal window.
Soon, this app will restart the Finder on your device, and you will be able to locate all hidden folders and files on your macOS.
Once you are done with the desired changes and want to hide those files again, follow the same command just by replacing “true” with “false”.
How to View Mac’s ~/Library folder?
There are three simple methods to view the hidden ~/Library folder on Mac systems.
Method 1:
macOS Sierra Apple contains a Finder keyboard shortcut. Using this key you can view the hidden files and folders instantly. Simply follow these steps.
Step 1: First of all, open the Finder.
Step 2: Move to your Macintosh HD folder; you can find it in the left column of the Devices section.
Step 3: It is time to hold down CMD + Shift + . (dot).
Step 4: After executing these three steps, all hidden files will be visible to the user.
Step 5: If you want to hide the files again after the troubleshooting operation, once again hold down CMD + Shift + . (dot) combination and the files will not be visible anymore.
Method 2:
Another easy way to view the hidden ~/Library folder on Mac is described below in these steps:
Step 1: Open the Finder on your device.
Step 2: Now hold down Alt and from the dropdown menu bar on the top of the screen, choose Go.
Step 3: Here you will find ~/Library folder; note that it will be listed right below the Home folder.
Method 3:
Here is an alternative method to view the ~/Library folder. The steps are listed below:
Step 1: Open the Finder on your device.
Step 2: Now go to the menu bar and choose Go.
Step 3: It is time to select the Go to Folder option. Or, you can simply press Shift + Cmd + G.
Step 4: After this, type ~/Library into the available text box and finally hit Go.
It will immediately open the hidden ~/Library on your device, and you can make all desired changes instantly.
Conclusion
When you are interested in viewing the hidden files on your Mac, the above methods can help you better in this regard. Whether you want to access hidden files for clearing junk data or want to execute an operation for troubleshooting some problems; you can choose any of the above methods. Generally, most people find the method using MacDeed Mac Cleaner the simplest and easiest to view hidden files. Before you execute any operation on the hidden files, it is important to understand that they contain sensitive information. Be careful so that you can avoid any serious damage to the entire Mac system.

